
Creamy Pork Hock Soup
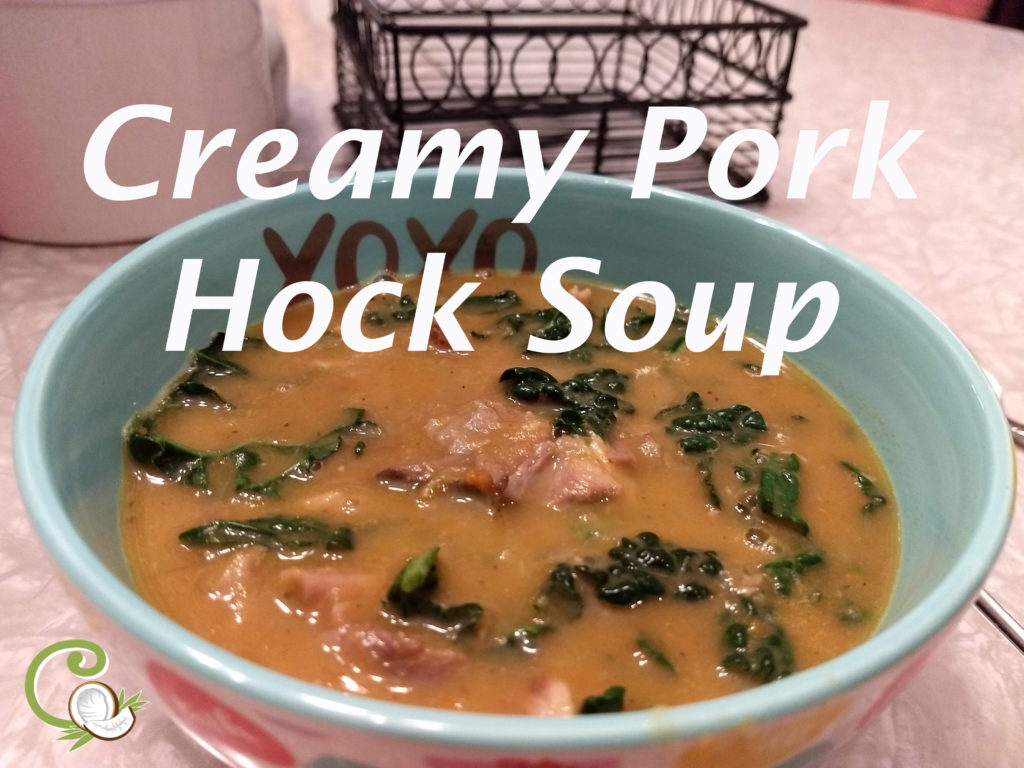
This is my new favorite soup! It’s creamy, flavorful and uses my new favorite cut of meat; the pork hock. And it all comes together easily in a slow cooker. This makes winter bearable.
Read MoreCreamy Vegetable Curry Soup
This soup is on a whole new level of awesome. Roasting veggies is my favorite way to eat them. So roasting veggies and then turning them into a soup is pretty much the perfect combination. And adding curry is the perfect flavor. Even veggie haters will love this soup.
Read MoreHealthy Remake: No-Bake Cookies (Vegan, No Sugar)
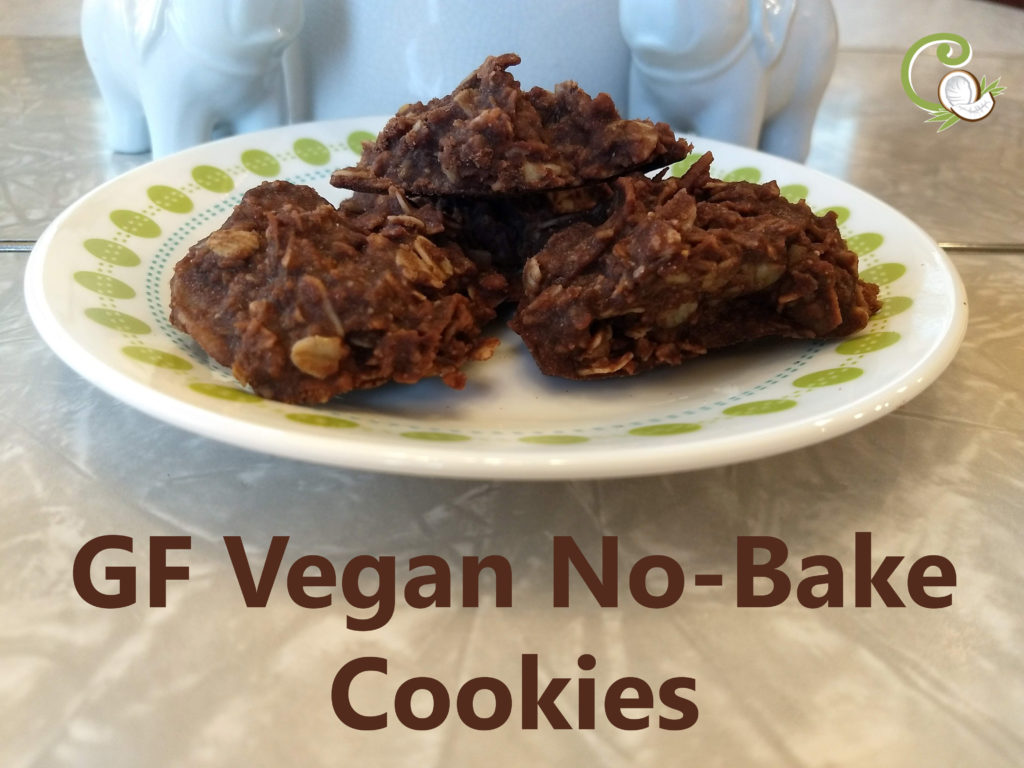
But being the amazingly caring wife I am, I told my husband I’d make him ANYTHING he wanted for his birthday dessert. His answer: no bake cookies. I looked at him for a moment like he’d just kicked my childhood puppy. I knew my self control would get the better of me. I got out a smaller saucepan and made some dairy-free no-bake cookies at the same time. The success had me almost in tears. I licked the pan, I ate the cookies and I was even able to keep them all to myself because they all wanted Daddy’s cookies. It was pretty awesome.
Read MoreHomemade Roasted Red Pepper Cauliflower Hummus
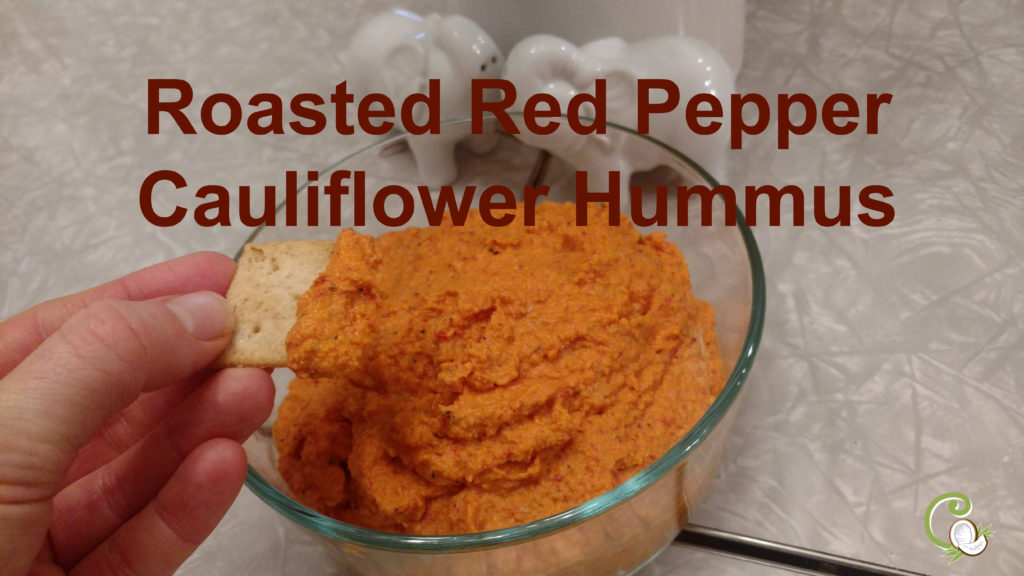
I love hummus! I eat it on veggies, on wraps, on hot dogs (way better than ketchup) and on a well-rounded spoon. I decided I wanted to make my own, but I also wanted to up my veggie consumption. So I decided to replace the beans with roasted cauliflower. My life will never be the same. It’s DELICIOUS!
Read MoreHealthy, 5-Ingredient, Frozen Fudge Pops

Today I have an awesome recipe for you! We made the most creamy, rich, perfectly sweet frozen fudge pops last week. All I had to do was throw 5 ingredients into a blender. And all the ingredients were mom-approved!!!
Read MoreChocolate Chip Cookie Dough Protein Bites

I have one kid who is very hard to feed. This week I decided to turn his favorite flavor (chocolate chip cookies) in to a low-sugar, high protein and healthy fats treat I feel good about sending to school with him. I almost cried when he took a bite and said, “Wow! These are so good!” And he was right! These are good!
Read MoreShepherd’s Pie Baked Potatoes
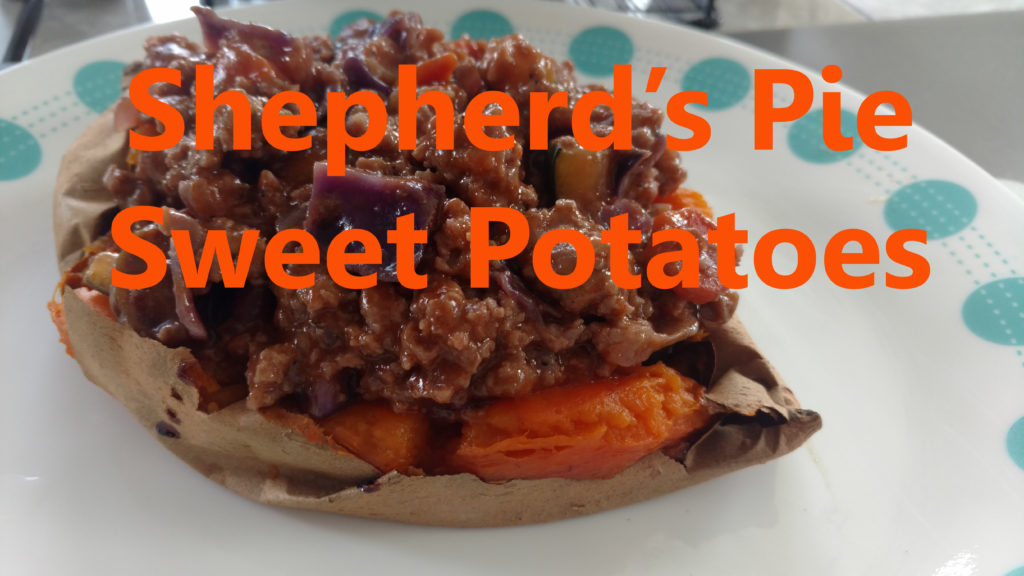
I wanted shepherd’s pie tonight for dinner, but didn’t want all the work and dishes that go into it. I came up with the perfect version that supplies all the flavors without the time and dishes.
Read MoreGluten-Free Brownie Pudding Cake
When I was a kid, my mom would make brownie pudding cake on cold, wet days. It was so comforting topped with a big scoop of whipped cream that melted into the gooey chocolate. When it snowed a few weeks ago, I needed some warm, gooey comfort. But I didn’t want the next day sugar/gluten hangover I get. So I set out to make a grain-free, low sugar version. I was so pleased with the results, I nearly cried.
Read MoreGrain-Free Chicken Parmesan
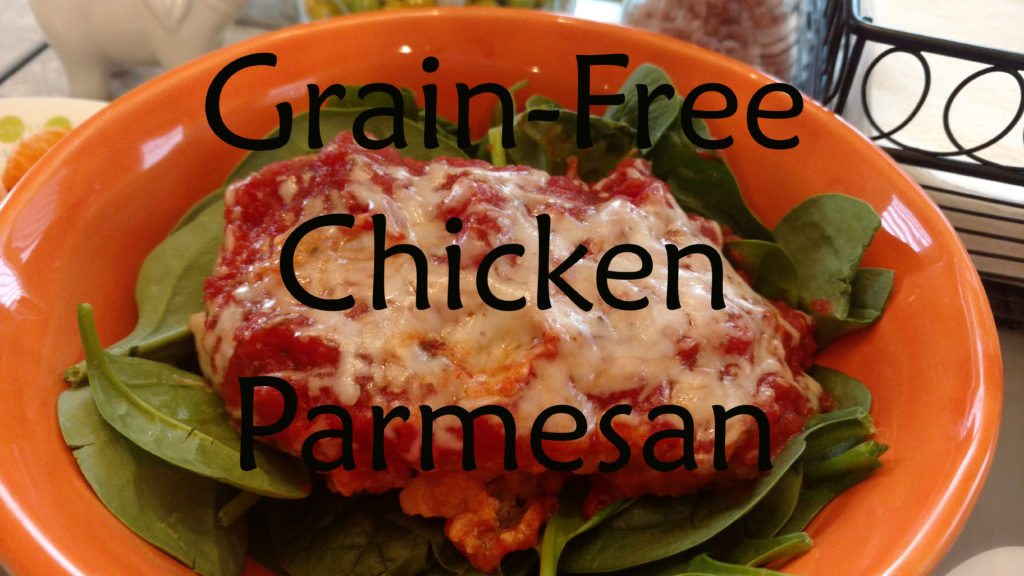
A few weeks ago she and I were watching The Pioneer Woman (one of our favorite bonding activities) and drooling over her chicken Parmesan. My daughter asked, “Can we please make that?!” I couldn’t let her down so we gave it a try. I wanted to make a grain-free but delicious version of this classic comfort food. We were all pleased with the results…
Read MoreNo-Sugar Saucy Asian Meatballs
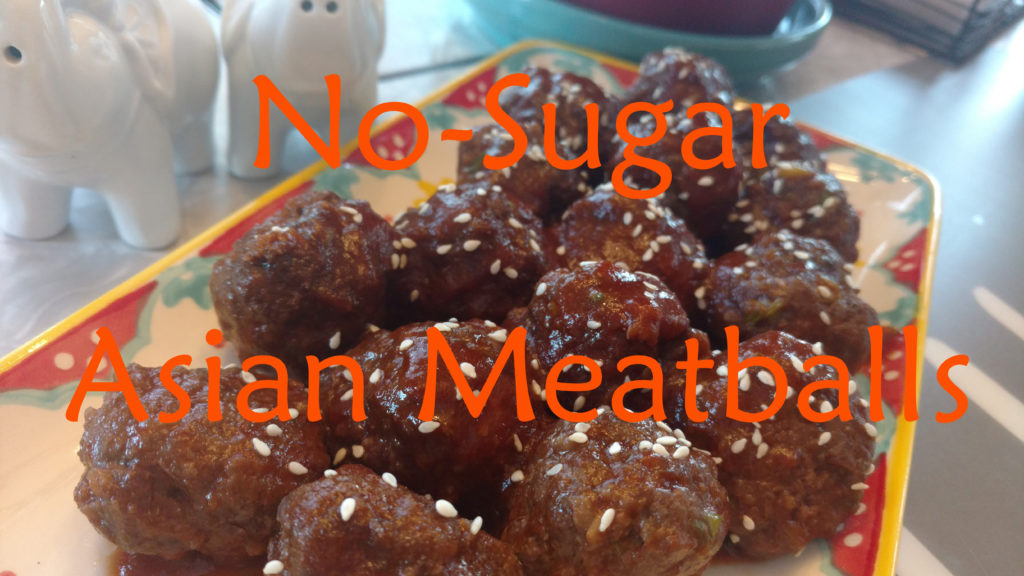
Eating healthy is actually really easy if you figure out how to add flavor to food. Sometimes we feel like eating healthy has to be miserable. Good news. It doesn’t!! These meatballs are proof. They are so yummy! My husband and kids loved them and these are people who order things like chili cheese fries and shakes at restaurants, so that’s quite the compliment. Plus, these are easy to make. These days I’m really lazy with cooking. If it takes me more than 20 minutes active time to cook, I’m out.
Read More