
Posts Tagged ‘dessert’
10 Healthy Thanksgiving Dishes to Please a Crowd
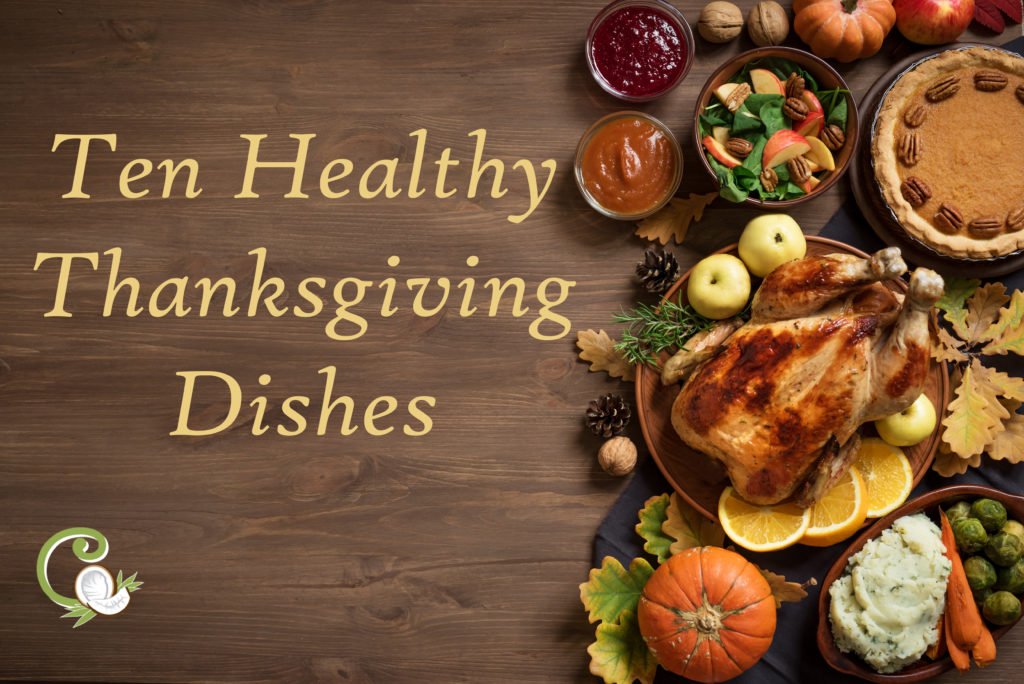
In my nutrition business, I get a lot of questions from clients about how to handle the holiday season. My answer, enjoy yourself and don’t feel restricted, but try to make healthy choices wherever possible. Today I have 10 recipes for you for a delicious, healthy Thanksgiving.
Read MoreDairy-Free Chocolate Fudge Frosting
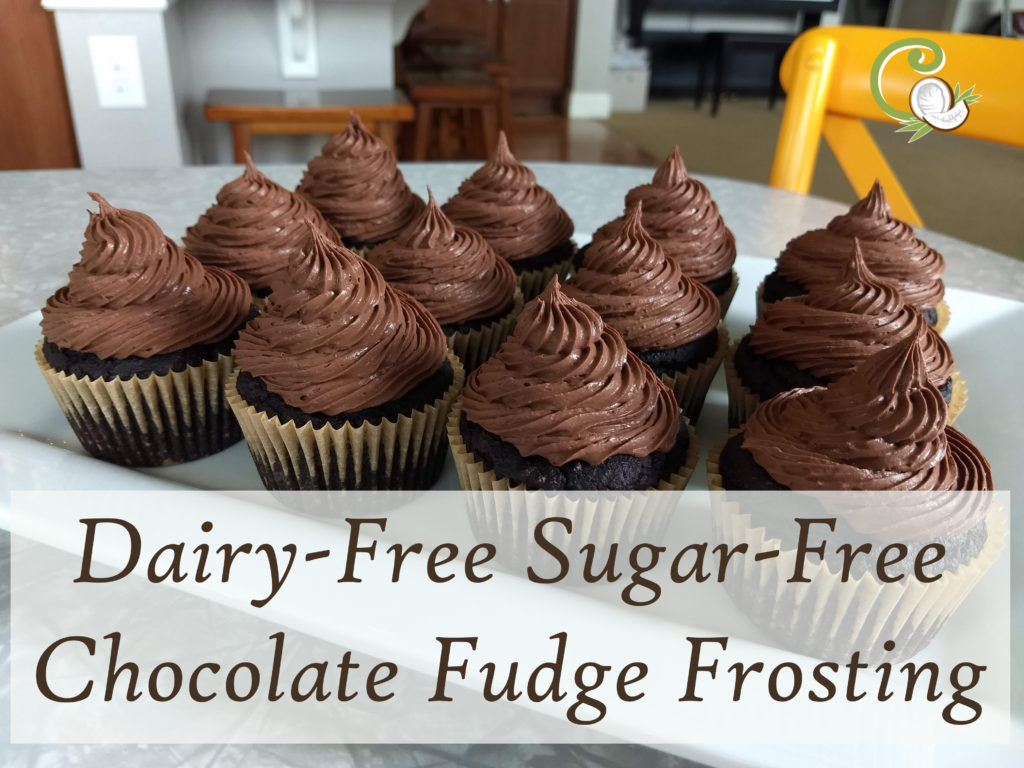
We’re always looking for desserts that don’t taste like we’re cooking for food sensitivities. This frosting achieves that perfectly! Thick, fudgy, rich and delicious! Plus it’s easy to make.
Read MoreSugar Detox Chocolate Clusters
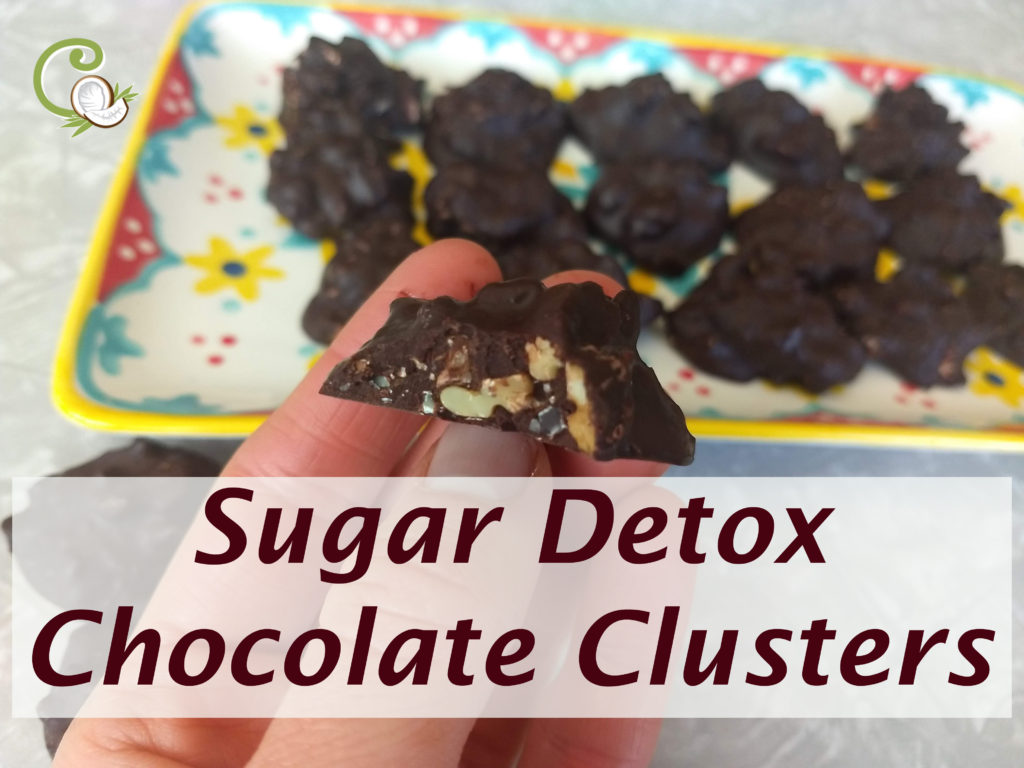
These easy treats help me stick to my commitment to keep sugar out! With the combination of chocolate, orange and cinnamon, I don’t even miss the sugar.
Read MoreHealthy Disneyland “Dole Whip”
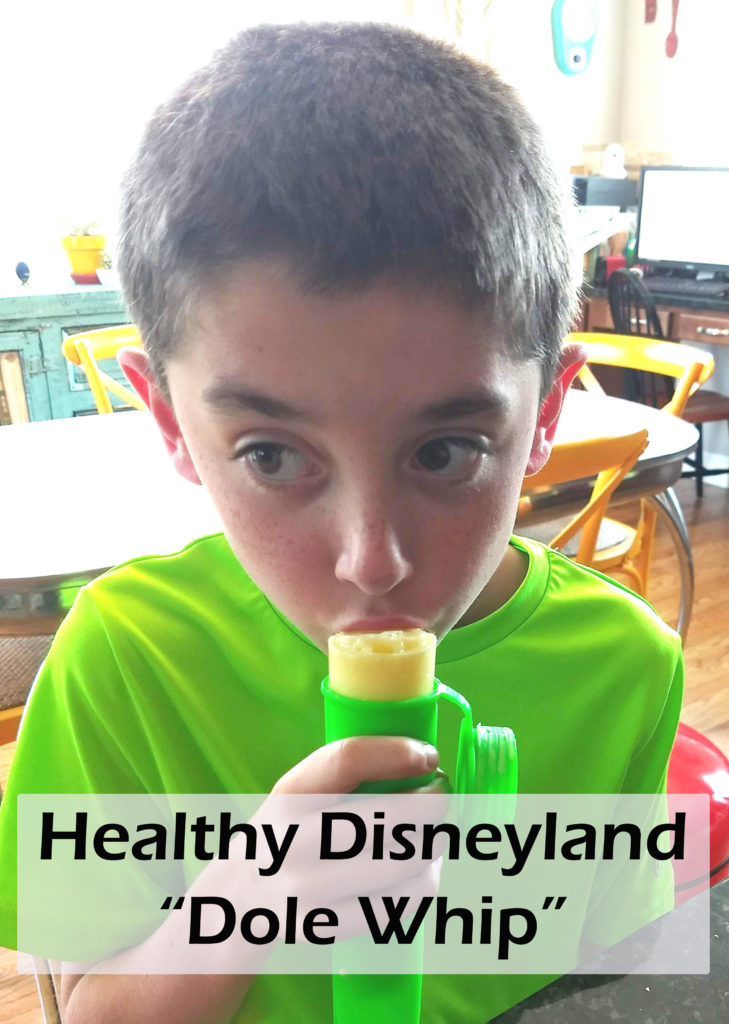
One of our favorite treats at Disneyland is the Dole Whip. A delicious, pineapple ice cream. We set out to make a healthy version with real ingredients and we succeeded big time!
Read MoreHealthy Remake: No-Bake Cookies (Vegan, No Sugar)
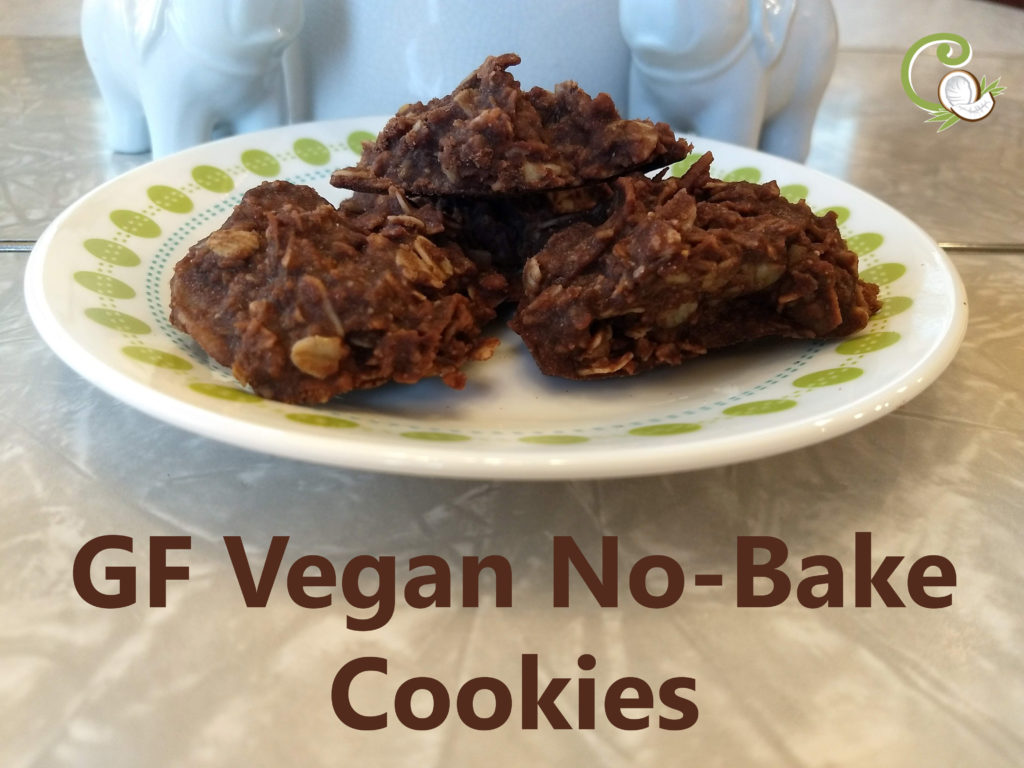
But being the amazingly caring wife I am, I told my husband I’d make him ANYTHING he wanted for his birthday dessert. His answer: no bake cookies. I looked at him for a moment like he’d just kicked my childhood puppy. I knew my self control would get the better of me. I got out a smaller saucepan and made some dairy-free no-bake cookies at the same time. The success had me almost in tears. I licked the pan, I ate the cookies and I was even able to keep them all to myself because they all wanted Daddy’s cookies. It was pretty awesome.
Read More3-Ingredient Trail Mix Clusters
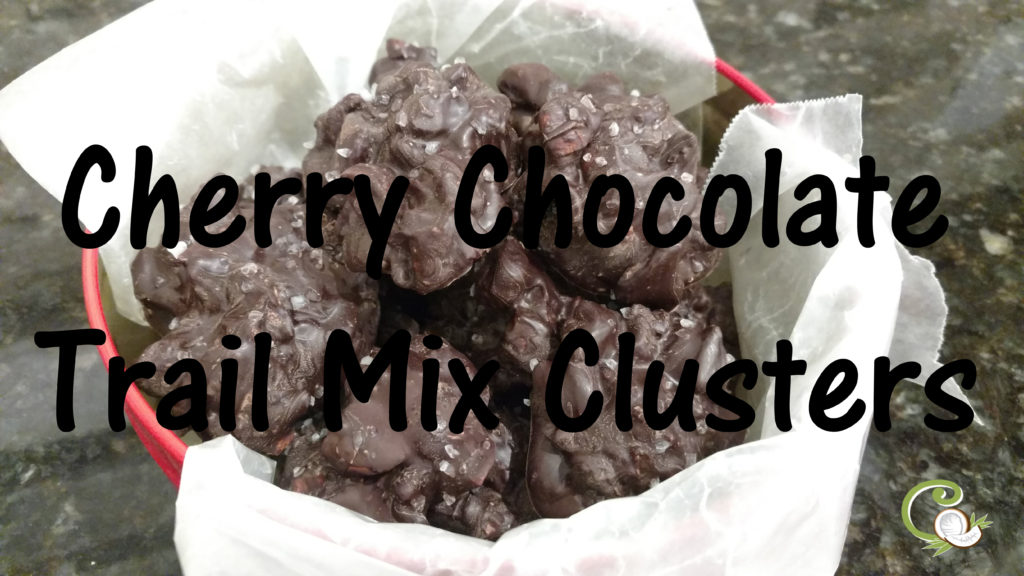
I needed to make a chocolate dish for a get-together but needed something healthy and super fast to make. I decided to make these clusters of chocolate with dried fruit and nuts. These are so good! I’m almost embarrassed they’re so easy! Everyone loved them and I felt like I stayed true to who I am!
Read MoreHealthy, 5-Ingredient, Frozen Fudge Pops
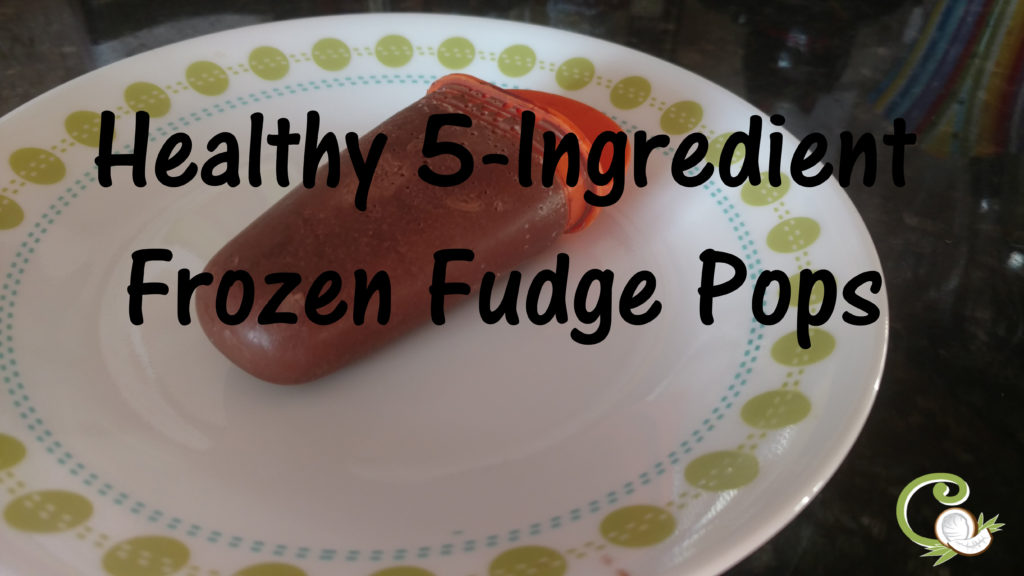
Today I have an awesome recipe for you! We made the most creamy, rich, perfectly sweet frozen fudge pops last week. All I had to do was throw 5 ingredients into a blender. And all the ingredients were mom-approved!!!
Read MoreHow to Survive the Holidays with Your Health Intact

How do we survive the holidays without health crashes and sugar comas. What if you don’t want to abstain from Christmas cookies, fudge, hot chocolate and peppermint kisses (a must-have). So if you want to abstain from treats, I have tips for you. But if you want to indulge a bit, I have tips for you too.
Read MoreGluten-Free Brownie Pudding Cake
When I was a kid, my mom would make brownie pudding cake on cold, wet days. It was so comforting topped with a big scoop of whipped cream that melted into the gooey chocolate. When it snowed a few weeks ago, I needed some warm, gooey comfort. But I didn’t want the next day sugar/gluten hangover I get. So I set out to make a grain-free, low sugar version. I was so pleased with the results, I nearly cried.
Read MoreThe Best Pumpkin Dish You’ll Make This Fall
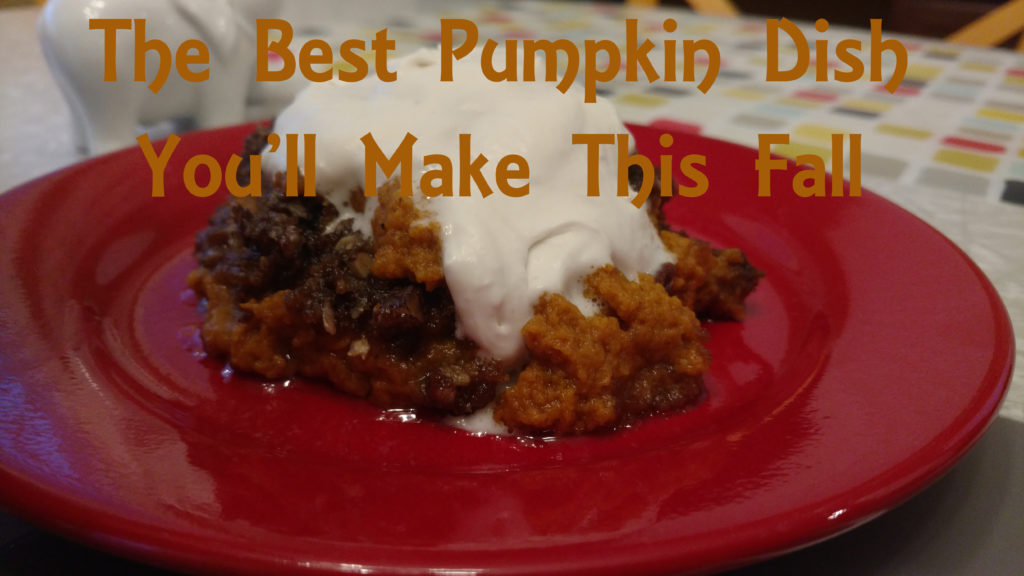
Excited doesn’t really cover how I feel about this recipe. I made it on a Sunday and literally dreamed about it the night before. Yes, I am that big of a loser and yes, it did live up to my dream. I used to make a pumpkin dump cake that made my heart happy. It was creamy and warm on the bottom with a crunchy, sweet top. I LOVED it! The problem was, it was loaded with both white and brown sugar and was topped with a cake mix…. which you had to add even more sugar to. I thought about cheating and just making the darn thing (Yes, it would have been worth it), but before I sold my soul I decided to try to make a healthier version. I’m SO glad I did.
Read More