
Posts Tagged ‘paleo’
Avocado Lime “Everything” Sauce
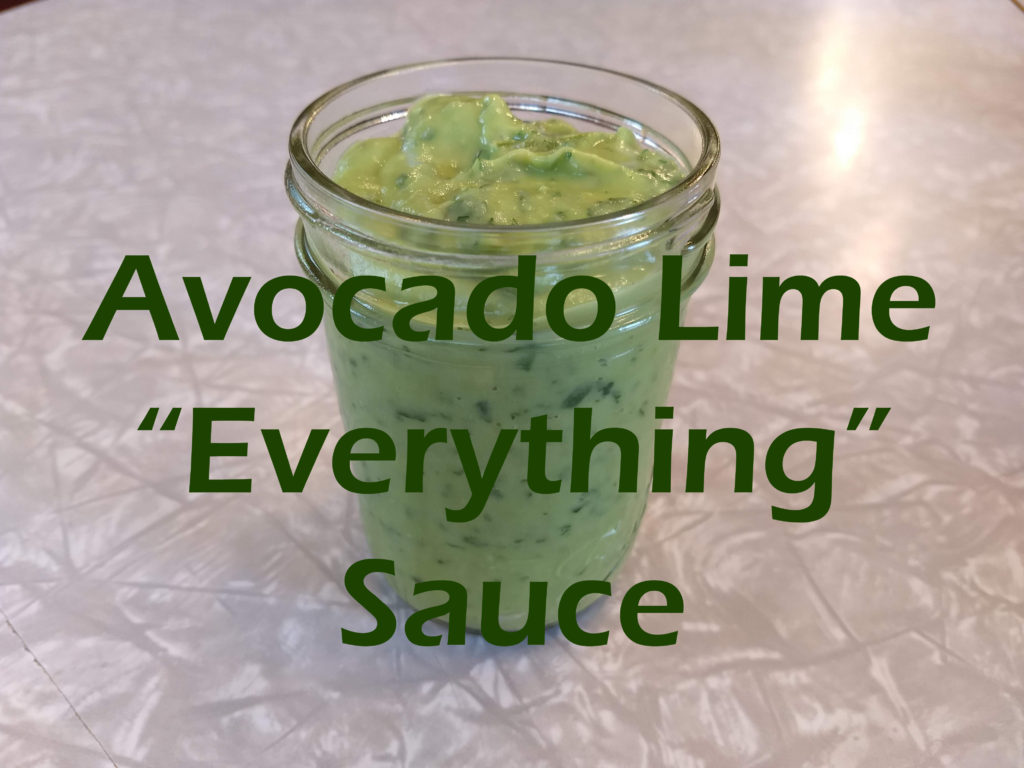
I call this an “everything” sauce because it fits to well with everything. We’ve used it as a spread for a sandwich, a salad dressing, a chip dip, on top of a burger, and a meatball dip. It’s so versatile! It’s like the little black dress of sauces.
Read MoreSmoky BBQ Beef Stew
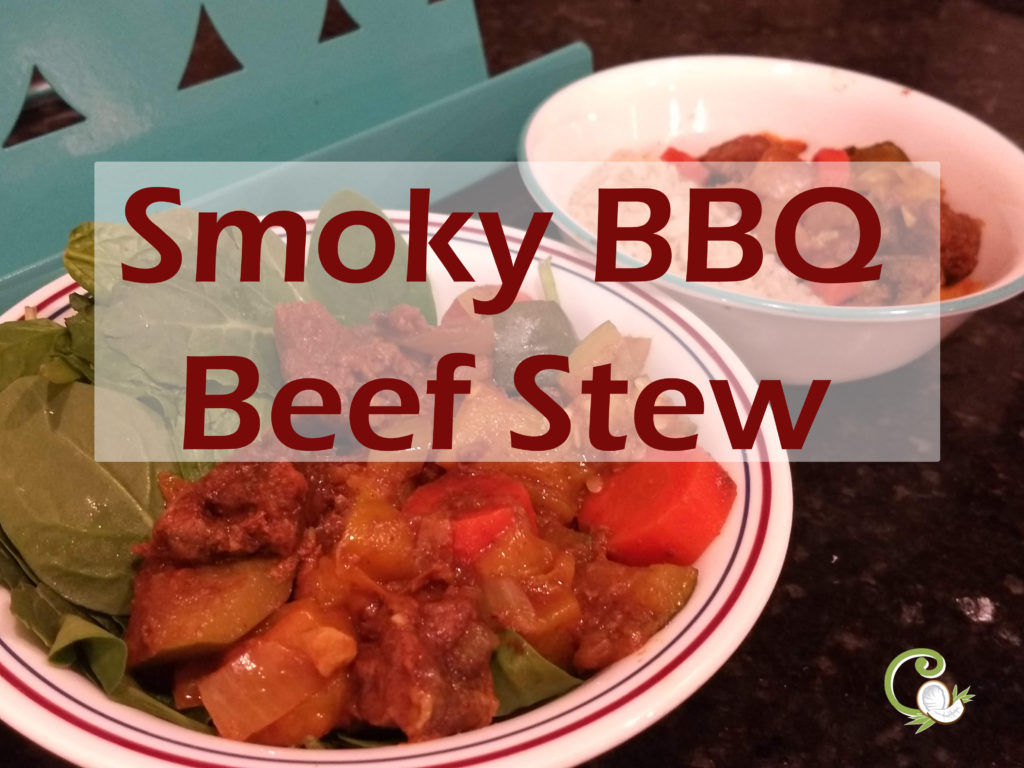
This recipe is a fun twist on traditional beef stew. I came up with it because I think my family was getting sick of traditional beef stew. Maybe it’s because we were having it once a week and consuming the leftovers throughout the week. Who knows?
Read MoreThai Cauliflower Fried Rice
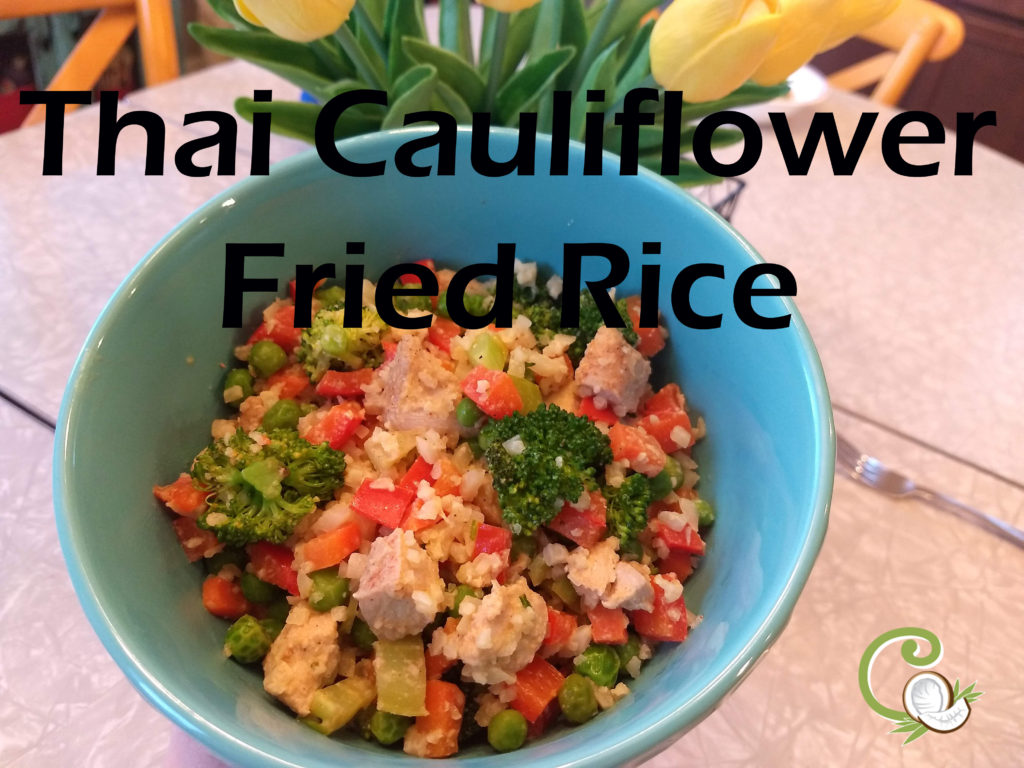
This cauliflower fried rice is just as satisfying as the fried rice we got from our local Asian restaurant as kids. But I’m actually doing something good for my body and I feel good two hours later. This is a new staple in our house.
Read MoreCreamy Pork Hock Soup
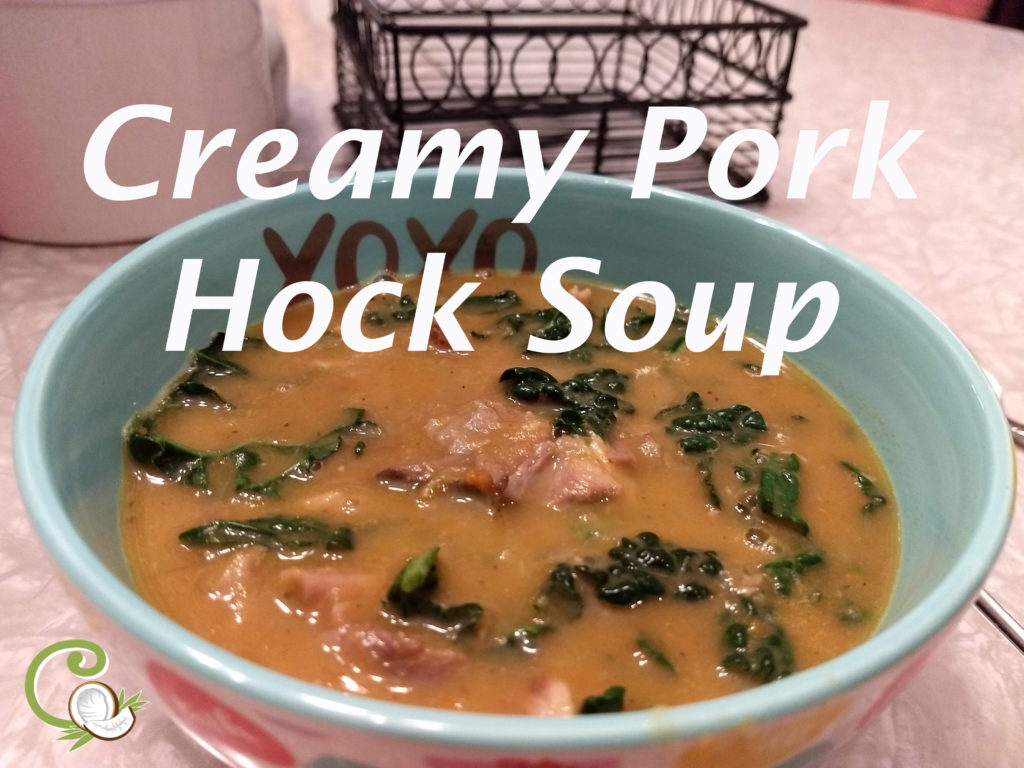
This is my new favorite soup! It’s creamy, flavorful and uses my new favorite cut of meat; the pork hock. And it all comes together easily in a slow cooker. This makes winter bearable.
Read MoreCreamy Vegetable Curry Soup
This soup is on a whole new level of awesome. Roasting veggies is my favorite way to eat them. So roasting veggies and then turning them into a soup is pretty much the perfect combination. And adding curry is the perfect flavor. Even veggie haters will love this soup.
Read MoreHomemade Roasted Red Pepper Cauliflower Hummus
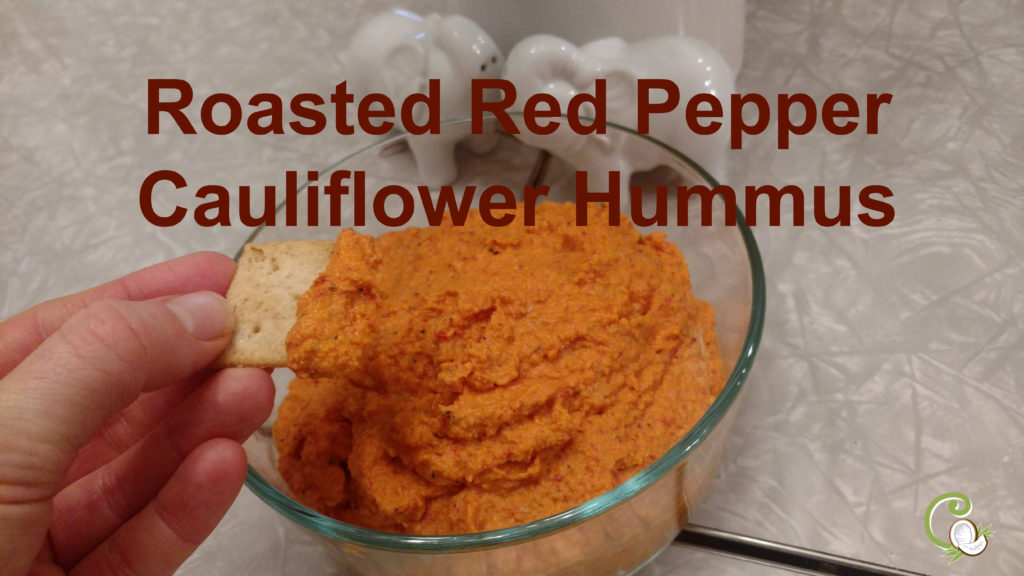
I love hummus! I eat it on veggies, on wraps, on hot dogs (way better than ketchup) and on a well-rounded spoon. I decided I wanted to make my own, but I also wanted to up my veggie consumption. So I decided to replace the beans with roasted cauliflower. My life will never be the same. It’s DELICIOUS!
Read More3-Ingredient Trail Mix Clusters

I needed to make a chocolate dish for a get-together but needed something healthy and super fast to make. I decided to make these clusters of chocolate with dried fruit and nuts. These are so good! I’m almost embarrassed they’re so easy! Everyone loved them and I felt like I stayed true to who I am!
Read MoreHealthy, 5-Ingredient, Frozen Fudge Pops
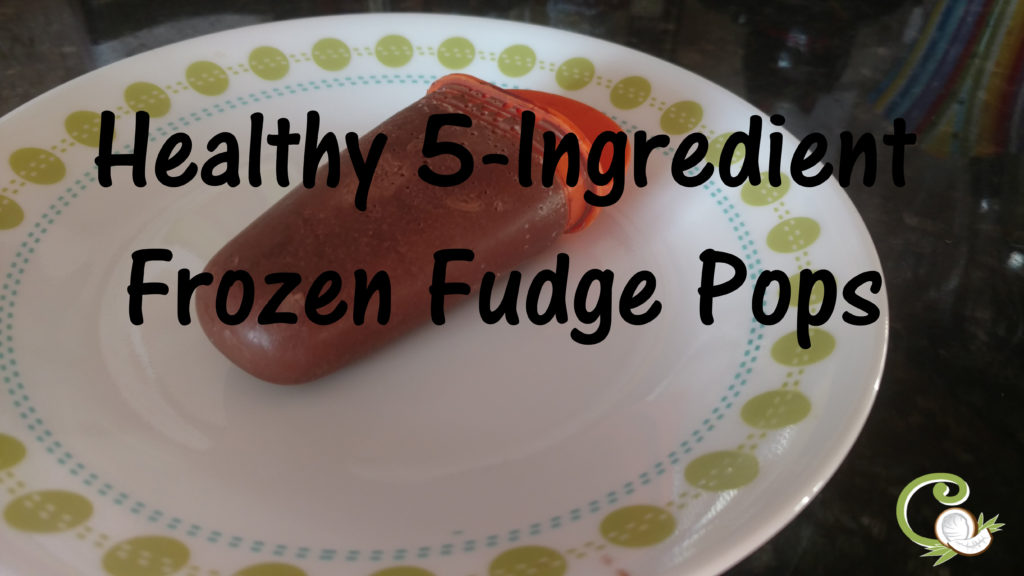
Today I have an awesome recipe for you! We made the most creamy, rich, perfectly sweet frozen fudge pops last week. All I had to do was throw 5 ingredients into a blender. And all the ingredients were mom-approved!!!
Read MoreChocolate Chip Cookie Dough Protein Bites
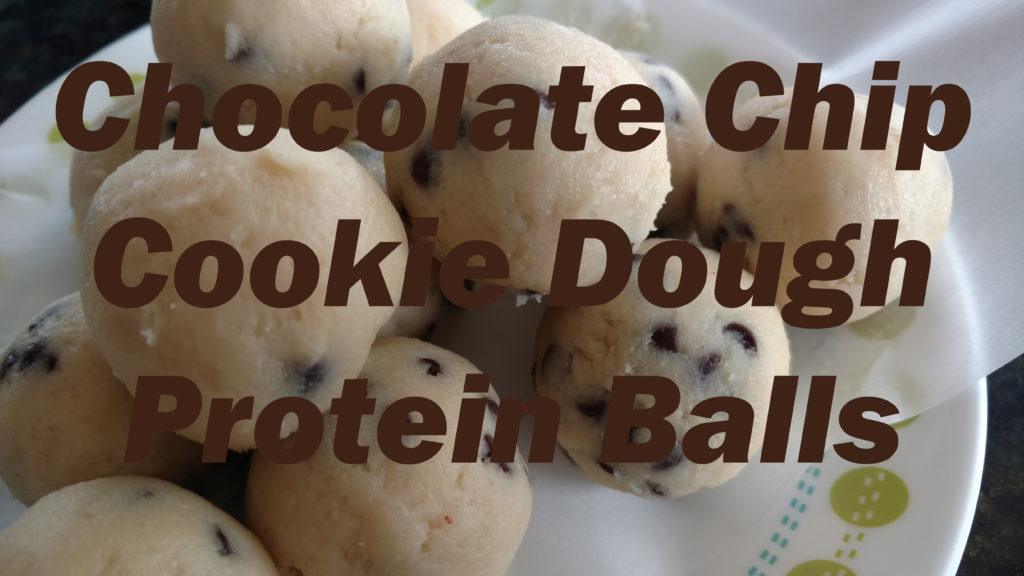
I have one kid who is very hard to feed. This week I decided to turn his favorite flavor (chocolate chip cookies) in to a low-sugar, high protein and healthy fats treat I feel good about sending to school with him. I almost cried when he took a bite and said, “Wow! These are so good!” And he was right! These are good!
Read MoreGluten-Free Brownie Pudding Cake
When I was a kid, my mom would make brownie pudding cake on cold, wet days. It was so comforting topped with a big scoop of whipped cream that melted into the gooey chocolate. When it snowed a few weeks ago, I needed some warm, gooey comfort. But I didn’t want the next day sugar/gluten hangover I get. So I set out to make a grain-free, low sugar version. I was so pleased with the results, I nearly cried.
Read More