
Posts Tagged ‘low carb’
Low-Carb Homemade Strawberry Lemonade
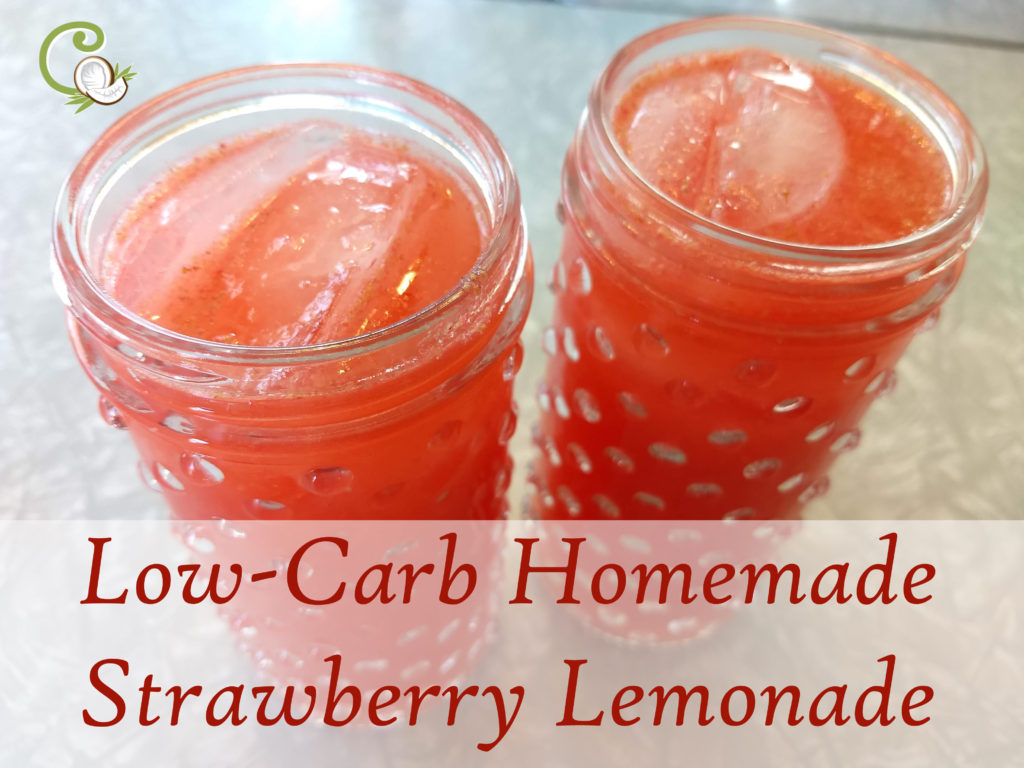
This strawberry lemonade is a recreation of my favorite childhood treat from Olive Garden. Only this one is made with real ingredients and without all the sugar.
Read MoreAvocado Lime “Everything” Sauce
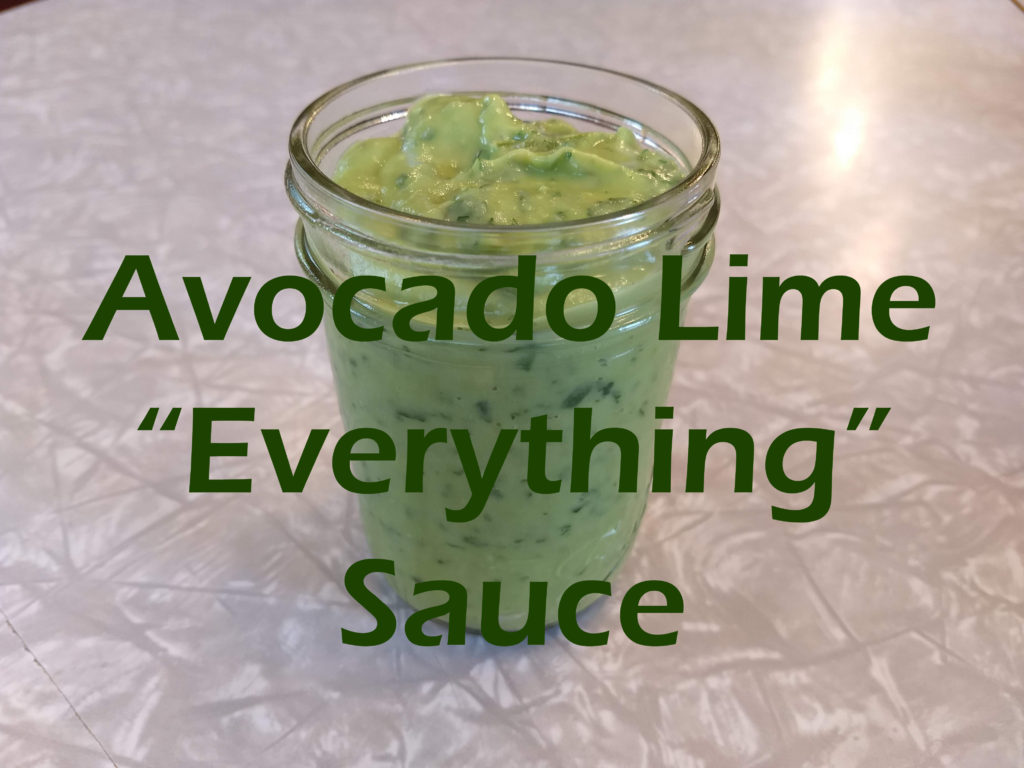
I call this an “everything” sauce because it fits to well with everything. We’ve used it as a spread for a sandwich, a salad dressing, a chip dip, on top of a burger, and a meatball dip. It’s so versatile! It’s like the little black dress of sauces.
Read MoreThai Cauliflower Fried Rice
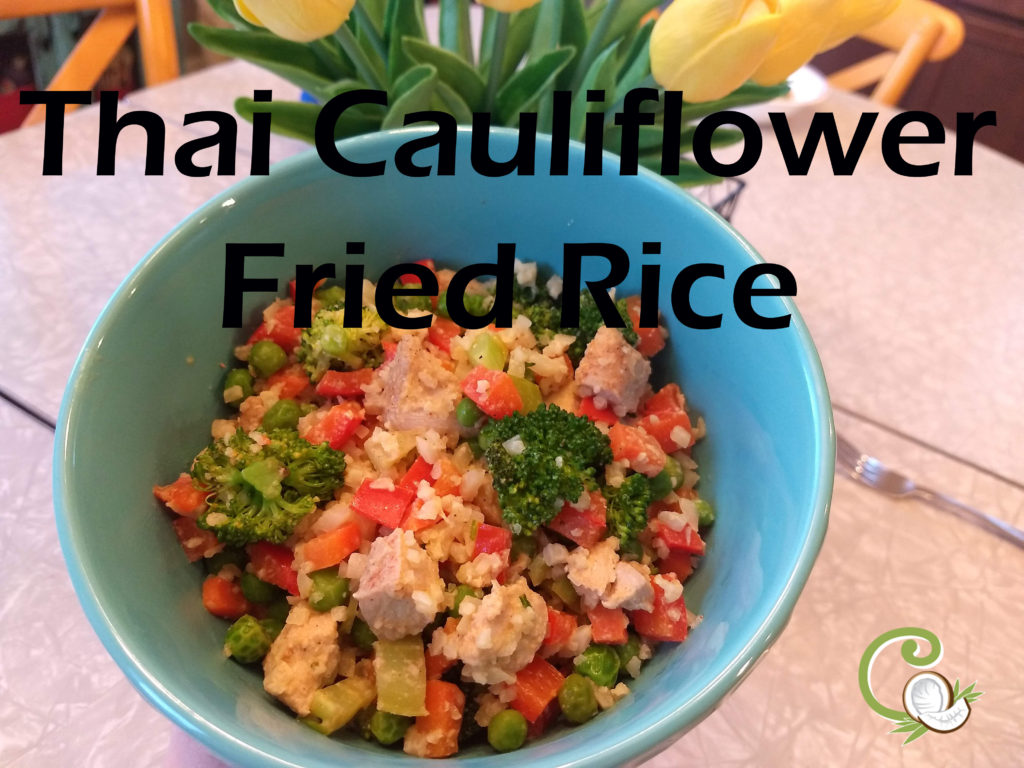
This cauliflower fried rice is just as satisfying as the fried rice we got from our local Asian restaurant as kids. But I’m actually doing something good for my body and I feel good two hours later. This is a new staple in our house.
Read MoreCreamy Pork Hock Soup
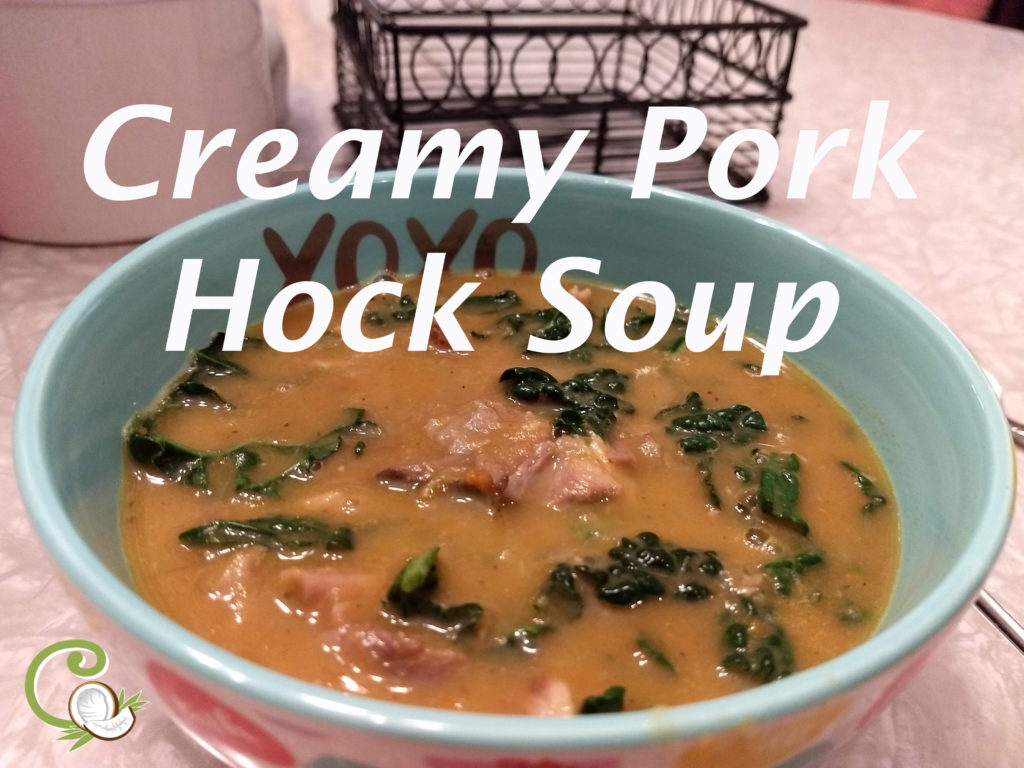
This is my new favorite soup! It’s creamy, flavorful and uses my new favorite cut of meat; the pork hock. And it all comes together easily in a slow cooker. This makes winter bearable.
Read MoreHomemade Roasted Red Pepper Cauliflower Hummus
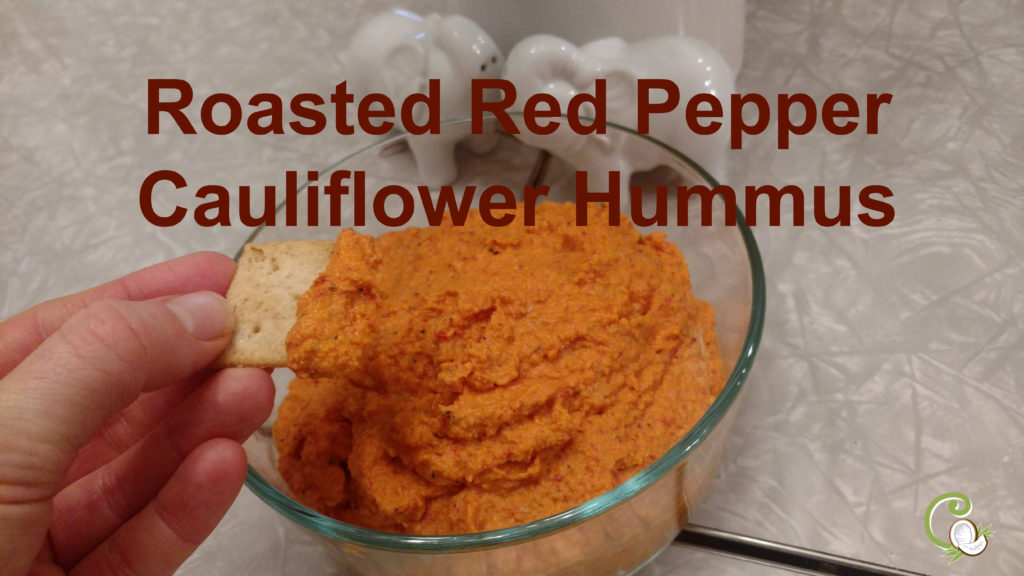
I love hummus! I eat it on veggies, on wraps, on hot dogs (way better than ketchup) and on a well-rounded spoon. I decided I wanted to make my own, but I also wanted to up my veggie consumption. So I decided to replace the beans with roasted cauliflower. My life will never be the same. It’s DELICIOUS!
Read MoreGrain-Free Chicken Parmesan
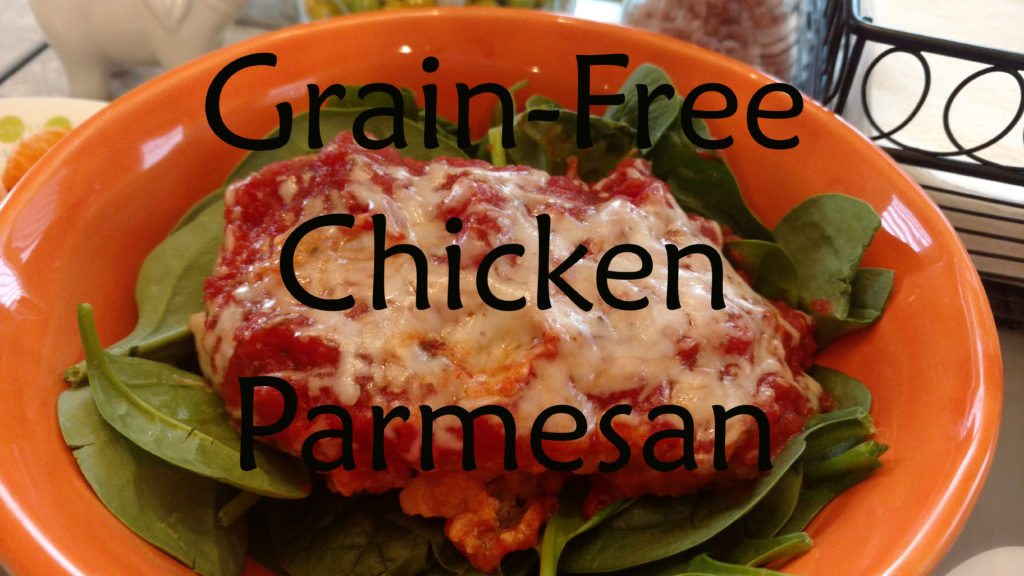
A few weeks ago she and I were watching The Pioneer Woman (one of our favorite bonding activities) and drooling over her chicken Parmesan. My daughter asked, “Can we please make that?!” I couldn’t let her down so we gave it a try. I wanted to make a grain-free but delicious version of this classic comfort food. We were all pleased with the results…
Read More15 Minute Smoky BBQ Stir Fry
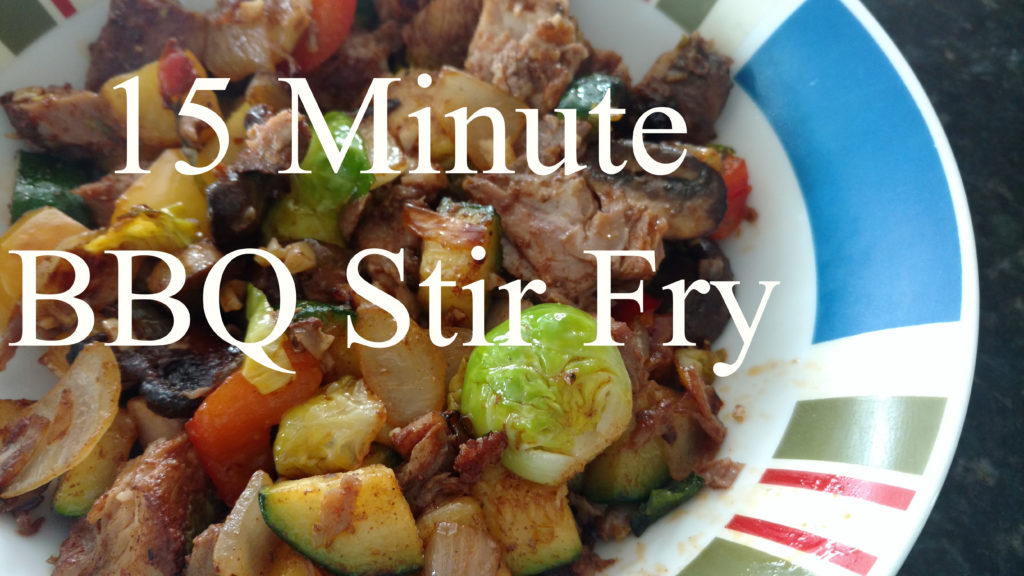
My favorite lunch is a salad. Not a wussy salad with veggies only and dressing on the side. I’m talking a salad loaded with veggies but also avocado and a nice , filling protein. YUM! But this week in Denver, we got snow. Cold, wet snow. So when it came time for lunch yesterday, I…
Read MoreBetter than the 70’s: Healthy Peanut Butter Fruit Dip
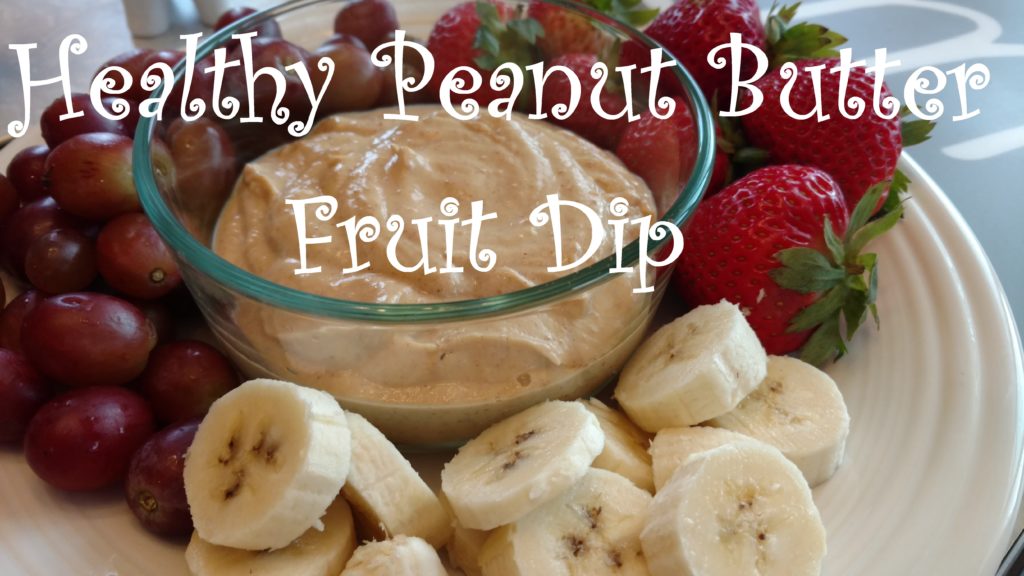
I clearly remember New Year’s Eve growing up. We’d get together with my BFF’s family (no, seriously. We’re in our 30’s now and we still talk multiple times weekly). The adults would do horribly boring things (like chat about things other than Barbies and tutus) and the kids would run around all night. A few…
Read MoreHow to Know if You Should Go Low Carb
About 9 or 10 months after I started to eat healthy and changed my workouts, I stopped losing weight. I decided to try a new “eating plan.” My friend suggested carb cycling so I thought I’d try it out. Here was my experience.
Read MoreGluten Free 3 Ingredient Pancakes
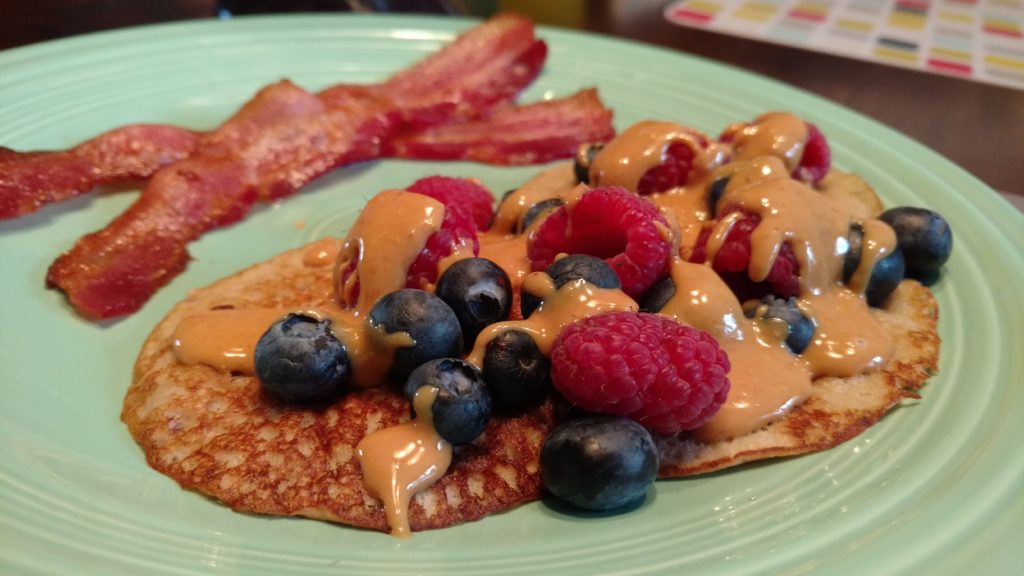
I feel like an awesome mom when I can put these healthy pancakes on my kids’ breakfast plates.
Read More